The 3 Layer Rule for Hiking: Master the Art of Outdoor Layering
 Jul, 5 2025
Wind can bite harder than a stray dog at the top of New Zealand’s Tongariro Alpine Crossing, and rain shows up as quickly as a toddler at dinnertime. Do you ever wonder how hikers in photos look relaxed, even when the weather’s acting bonkers? It’s not luck, or Antarctic-level toughness—it comes down to the 3 layer rule. If you think it’s just about stacking any three jackets, you’re missing the magic combo that keeps sweat, chill, and rain at bay.
Why Layers Matter More Than You Think
No one likes the feeling of cold sweat clinging to their back mid-hike, or a sudden downpour seeping into every seam. The real enemy out there isn’t just cold or wet—it’s rapid changes. The weather can flip on you without warning, especially in mountain country like the Southern Alps. Your body doesn’t manage temperature like a thermostat. It’s more like a slightly confused toaster: sometimes too hot, sometimes shivering when it shouldn’t. The 3 layer rule is absolute gold because it lets you adapt by adding or removing just what you need.
Researchers in outdoor physiology found hiking clothing layers helped reduce risk of hypothermia and heat loss by almost 30% compared to single heavy coats. Why? Layers trap air close to your skin, which acts as insulation—not just clothing. Sweat is wicked away, then escapes through the mid-layer, but rain and wind are blocked by your outer shell. This isn’t just comfort—it’s safety. In 2022, the Mountain Safety Council reported that 74% of hikers who ended up needing rescue in New Zealand’s backcountry weren’t dressed for changing conditions. The wrong clothes can turn a day trip into a life-or-death scramble in a matter of hours.
Imagine a spring day hike—sun and warm breezes at the carpark, icy wind and sudden drizzle at the summit an hour later. The 3 layer rule means you don’t have to carry a suitcase of clothes; just three essential layers. It’s light, packable, and adapts as fast as you do.
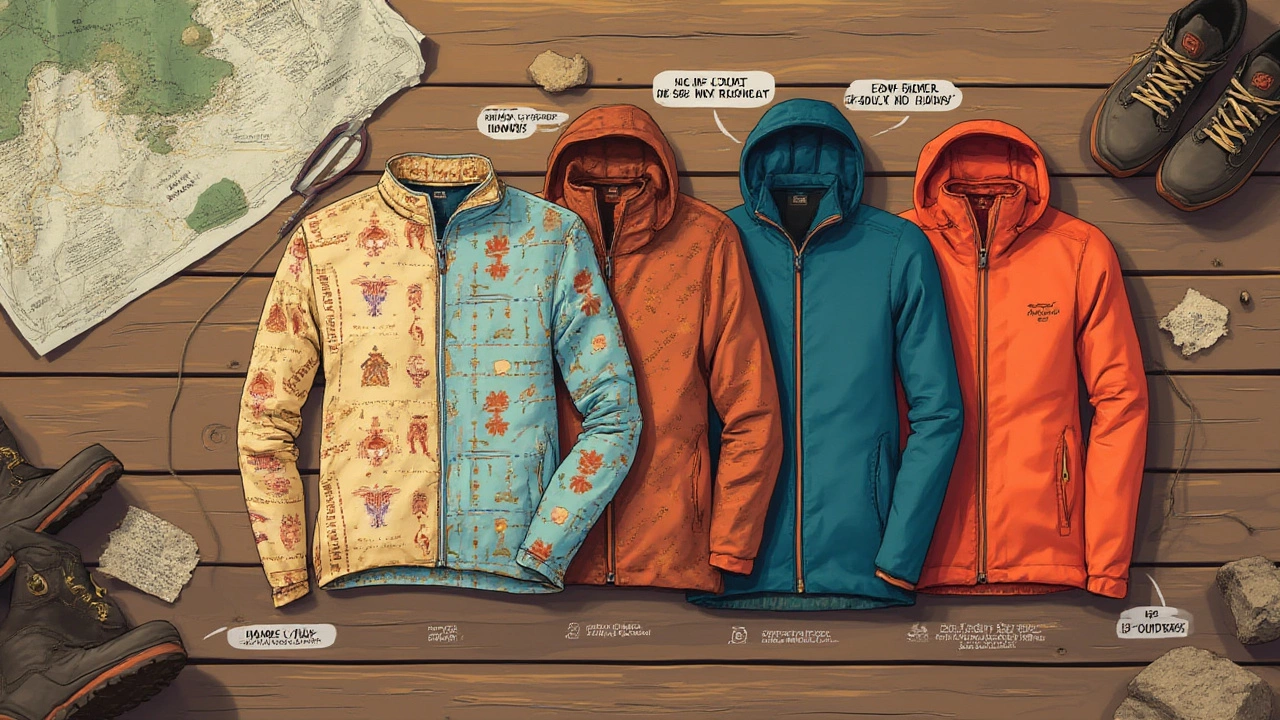
The Science Behind the Three Key Layers
So, what exactly are the three layers? Each one has a job to do—mess it up, and you’ll feel it. Let’s break them down:
- Base Layer: This is the one hugging your skin. Merino wool is the superstar in New Zealand, because it dries quickly and keeps you warm, even if it gets damp. Synthetic fibers like polyester are decent too, though they can start to smell before day two. Cotton is a trap—holds onto moisture like a grudge. Pro tip: always reach for merino in variable weather.
- Mid Layer: Think of this as your personal insulation. Most folks use a fleece pullover or a lightweight down jacket. In winter, I double up with a thin thermal mid-layer and a puffy, especially above 1,500 meters. The goal is to trap warmth without weighing you down or stopping sweat from escaping.
- Outer Layer (Shell): This is your shield against the elements. Go for a waterproof and windproof shell—GORE-TEX jackets are popular but there are plenty of solid options now. It doesn’t need insulation, just protection. Vents under the arms help avoid the greenhouse effect. Don’t settle for water-resistant—when the clouds burst, you’ll regret it.
This system isn’t just theory. One winter trip up Mt. Ruapehu, we hit rain, sleet, and wind—all in two hours. By switching between just these three layers (sometimes with a hat and gloves thrown in), we stayed dry, warm, and able to keep climbing. It works in muggy Northland forests and wind-blasted Fiordland valleys, too.
How to Choose the Right Layers for Your Body and Climate
Not all hikers are built the same—some run hot, others get cold feet (literally). So, picking layers is personal. Merino base layers come in different weights (120gsm for summer, 260gsm for winter). If you run warm, ditch the heavy mid-layer and go for lighter fleece. For those who always get cold fingers, slip glove liners in your kit.
Here’s a quick sizing and material guide that makes it simple, whether you’re prepping for a summer tramp or gearing up for a snowy adventure:
| Layer | Best Materials | Season | Weight Range |
|---|---|---|---|
| Base | Merino wool / Synthetic | All | 120-260gsm |
| Mid | Fleece / Down / Synthetic puffer | Autumn/Winter | 150-400gsm |
| Shell | Waterproof (GORE-TEX, eVent) | All | 300-500g (jacket) |
A couple of tips: Always try your layers on together. Bulky mid-layers can restrict movement if you haven’t sized your shell for them. If you hike in exposed, wet, or super-windy places (think Arthur’s Pass or Ben Lomond), don’t skimp on shell quality. It pays off. If you’re vegan or allergic to wool, there’s no shame in going for synthetic options—just wash often and air dry really well.
When and How to Adjust Your Layers on the Trail
Now for the trickiest part: knowing when to switch it up on the move. Most folks start too warm—myself included. You leave the car with three layers on, and within fifteen minutes you’re sweating like you’re in a sauna. Sweat chills you fast—so as soon as you start to feel hot or clammy, peel off the mid-layer, even if you only take a short break to do it. If clouds start building or the wind picks up, pause and put your shell on before the first drops hit.
The classic advice is “be bold, start cold.” It sounds nuts, but starting with a cool feeling means you won’t overheat as soon as you get your heart rate up. Always keep your shell near the top of your pack—weather changes faster than you think, even on short walks up Rangitoto or the Waitakere Ranges. For multi-day trips, I stash a backup thermal in a dry bag. It’s a life-saver if something gets drenched or nights turn colder than forecast.
If you stop for lunch, throw your mid-layer back on straight away. Resting means your body heat drops fast. And don’t forget about your lower half—thermal leggings work under hiking pants in winter, but most folks leave these off until really cold snaps hit. Rain pants are fiddly but crucial if the track turns to mush.
Remember to listen to your body. Shivering? Add a layer now. Sweating buckets? Strip off a layer, no matter how cold the wind is. It’s normal to adjust your set-up several times a day—there’s no prize for toughing it out in the wrong clothes.

Practical Packing and Care Tips for Your Hiking Layers
Layering works best when your gear is easy to reach and dry. Pack your base and mid-layers in waterproof stuff sacks if the weather’s moody—nothing worse than pulling out a soggy jumper when a storm hits. For day hikes, 20-30 litre packs give just enough space. On overnight trips, dedicate a dry bag to spare thermals and socks. They double up as a pillow in the hut—win-win.
Labels can be misleading. “Water-resistant” means nothing on a soaked day. Look for taped seams and solid hood designs on your shell. Regularly wash and re-waterproof jackets and fleece—sweat and dirt kill the technical magic. Merino base layers can be worn a few days in a row without stinking out the group—just air them out overnight. Synthetics, not so much.
If you’re hiking where help is far off or the weather is unpredictable (most of New Zealand’s best trails), bring a super light emergency poncho or bivvy bag. They weigh next to nothing and could save your skin.
Last tip: keep spares. Socks get wet in river crossings, and sometimes snacks leak all through your backpack. Having a backup layer—usually a thin base top or a dry pair of socks—makes the difference between a tough day and a miserable one.